Starting Toca Boca World feels overwhelming — until you set it up right.
Locations, maps, and characters, explained step by step.
Want to Set Up Your First Toca Boca World?

Before trusting "too-good-to-be-true" promises, see what this safe, up-to-date guide actually covers:
| Weekly free gift guide | Hidden item locations |
| Scam-avoidance tips | No purchase needed |

By now, you've collected a stack of free items and set up a world with a home base and a cast of characters. There's just one thing missing: the spaces themselves still feel like default rooms rather than your rooms. This is the part most players look forward to — and the part where it's easiest to end up with a cluttered, unsatisfying mess if you dive in without a plan.
This guide walks you through designing and decorating a room in Toca Boca World from empty to finished, one step at a time. It works whether you're starting with your free Bop City apartment, the family house, or any other location. By the end, you'll have a room that looks intentional, suits the character who lives in it, and is ready to host the stories we'll build in the next guide. No design background required — just a willingness to plan a little before you place.
Why it's worth slowing down to design well
Decorating in Toca Boca isn't busywork. A room you've actually designed pays you back every time you play in it.
A thoughtful space lets you express a real point of view — cozy, chaotic, sleek, whimsical — without needing any artistic training. It makes your stories more immersive, because a character's morning means more in a kitchen that feels lived-in than in a row of identical default cabinets. And it has endless replay value: you can redo a room a dozen times as your taste and your collection evolve. The few extra minutes spent planning are what separate a room you scroll past from one you're proud to screenshot.
Step 1: Plan the room's purpose and rough layout
Before you place a single object, answer one question: who is this room for, and what happens in it? A teenager's bedroom, a chef's kitchen, a toddler's playroom, and a home office all want completely different things. Deciding the purpose first turns thousands of item choices into a handful of obvious ones.
Then sketch a rough layout in your head (or on paper): where the big anchor pieces go, where characters will enter and move, and which zones the room needs. A bedroom might want a sleep zone, a getting-ready zone, and a hang-out corner. You're not committing to anything — you're just giving yourself a map.
Common mistake to avoid: starting with decorations. Players who place tiny details before the big pieces almost always have to tear it all down and start over. Plan the bones first.
Step 2: Choose your space and work with its shape
Pick the room you'll decorate and study its actual shape and size before you fill it. A small Bop City apartment room and a large family-house room call for different strategies — and fighting a room's natural proportions is a recipe for frustration.
Match your ambition to the space. A compact room does not need to hold everything; in fact, a small room with three well-chosen pieces beats a small room crammed with twelve. Note where the doors and windows are, since they dictate where furniture can realistically sit and where your characters will walk.
Step 3: Place your core furniture first
Now bring in the largest, most functional pieces — the bed, the sofa, the dining table, the kitchen counter. These define the room, so they go down first, while you still have the space to position them well.
Align big pieces against walls and room edges for a clean, grounded look, and leave clear paths so characters can move naturally. Spacing matters more than people expect: a little breathing room around major furniture makes a room read as designed rather than stuffed.
Pro tip: place, then step back and look at the whole room before adding anything else. Getting the anchors right is 80% of a good result; everything after this is refinement.
Step 4: Layer in decor and the small details
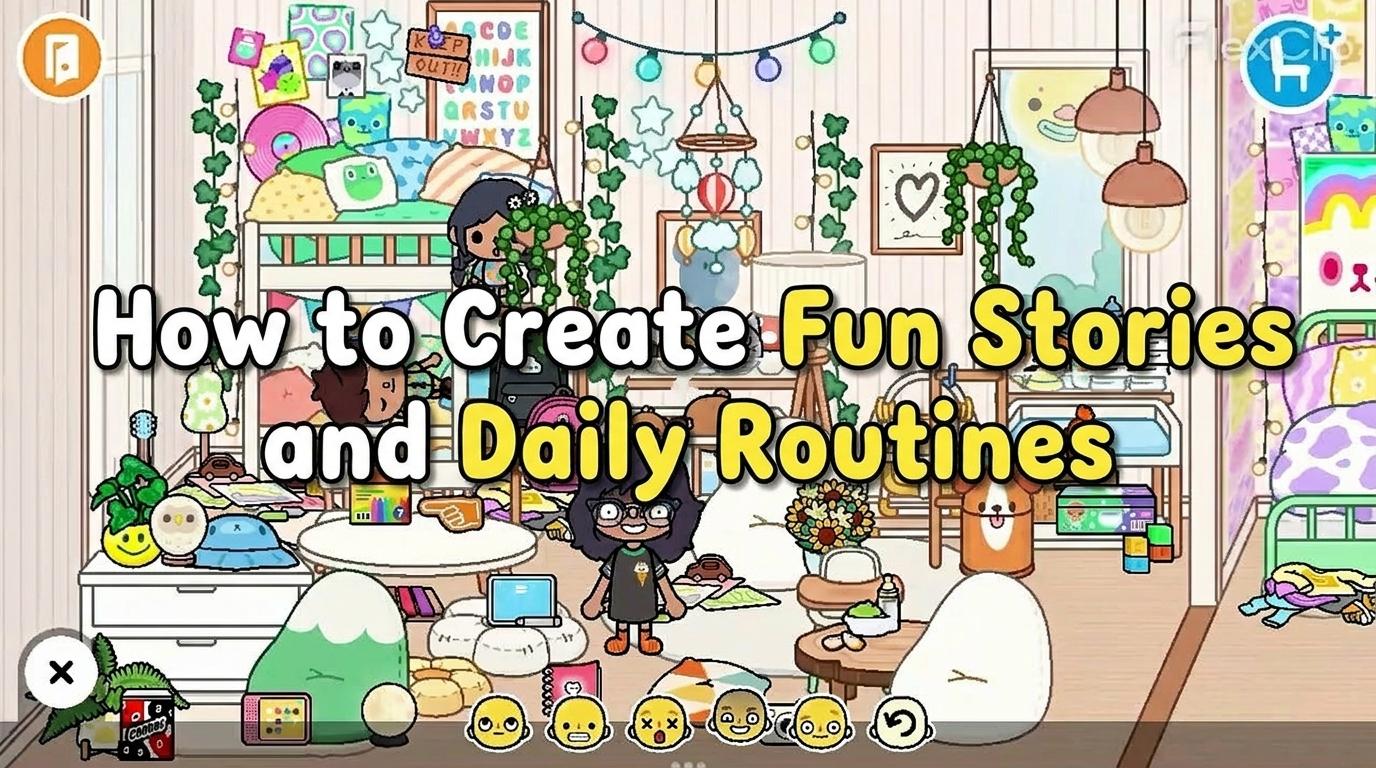
With the bones in place, this is where your free collection earns its keep. Layer in the medium and small pieces that give a room personality: rugs to ground a seating area, lamps and lights for warmth, wall art, plants, and the little clutter that signals real life — books on a shelf, mugs on a counter, a bag dropped by the door.
That last category is the secret to a room that feels lived-in rather than staged. A perfectly tidy room looks like a showroom; a few intentional "in-use" details make it feel like someone actually lives there. Pull from the items you organized earlier, and don't be afraid to mix sources — the hat from one gift, the plant you found exploring, the rug from a weekly drop.
Common mistake to avoid: filling every surface. Empty space is a design element, not a failure. Leave room for the eye — and for your characters — to move.
Step 5: Build a color and texture story
A room reads as coherent when its colors and materials agree with each other. You don't need a color theory degree; you need a little discipline.
Pick two or three main colors and let them lead, with everything else playing a supporting role. Warm tones — woods, ambers, soft reds — make a space feel cozy; cooler tones — blues, grays, greens — feel calm and modern. Repeating a color across a few pieces (a blue lamp, a blue rug, a blue throw) ties a room together far more effectively than using one of everything.
Pro tip: when a room feels "off" but you can't say why, it's usually too many competing colors. Pull two or three of the loudest mismatched items and watch the whole space settle.
Step 6: Add functional and interactive touches
This is the step that quietly sets up everything in the next guide. Toca Boca rooms come alive through interactive objects — things that do something when a character uses them. A working sink, a stove that cooks, a bed that's actually slept in, a music player, a shower: these aren't just decor, they're the props your stories will run on.
So as you finish a room, make sure it can actually be used, not just looked at. A kitchen needs the things a character cooks with; a bathroom needs what a character washes with. Then add a playful surprise or two — a hidden nook, an unexpected object, a small secret — to reward anyone who explores the space.
Pro tip: every interactive object you place now is a future story beat. A room full of usable things practically writes its own daily routine later.
Step 7: Test the room with your characters
A room isn't finished until a character has lived in it for a few minutes. Bring in the character this space was designed for and play through a small slice of life — wake up, make breakfast, get ready, relax.
Testing reveals what your eye missed. Maybe the bed blocks the door. Maybe the kitchen is too cramped to actually cook in. Maybe a beautiful corner has nothing to do in it. Adjust as you go — nudge furniture, widen a path, swap a decorative item for a useful one. This back-and-forth between building and playing is exactly how the best rooms come together.
Common mistake to avoid: skipping the test because the room "looks done." Looking good and playing well are two different bars, and a room needs to clear both.
Working with limited space and inventory
Two constraints trip up nearly everyone: not enough room, and not yet owning the perfect item. Both are solvable.
For tight spaces, lean on a few reliable tricks. Use lighter colors on big surfaces to make a room feel more open. Choose multi-functional pieces — a table that doubles as a desk, a bench that doubles as storage. And edit ruthlessly: in a small room, every item has to earn its place.
For missing items, remember that your free collection is bigger than it looks once you start substituting. Can't find the exact lamp you pictured? A similar piece in the right color usually does the job. You can always swap it later when a weekly gift or update brings something closer to your vision. A room built entirely from free items can look just as polished as one built from paid packs — the difference is care, not cost.
Common decorating mistakes to avoid
A quick checklist of the patterns that most often undermine a good room:
-
Overcrowding. The number-one issue. When in doubt, remove an item rather than add one.
-
Everything matching. A room of perfectly coordinated pieces feels flat. A little contrast in style or texture adds life.
-
Decor before furniture. Placing details before anchors forces a rebuild. Big pieces first, always.
-
No usable objects. A room that's all looks and no function has nothing for your characters to do.
-
Skipping the play-test. The fastest way to catch problems is to live in the room for a few minutes.
Conclusion
You've taken a room from empty to finished the right way: planning its purpose, placing the anchors, layering in decor, building a color story, adding the interactive touches that make it usable, and testing it with the character who calls it home. Built almost entirely from free items, it looks intentional — and more importantly, it's ready to be played in.
Because that's the whole point. A beautiful room is really just a stage, and a stage is waiting for something to happen on it. In the next guide, we'll bring your world to life with stories and daily routines — turning all those interactive objects and well-placed props into mornings, adventures, and everyday moments your characters actually live out.